


A Beginner's Guide to Splatoon:
Part 3 Clothing and Weapons
10/24/2015
Now that you've played a few battles, you probably want to change into some fresh new clothing and ditch that obsolete Splattershot Jr. If that's the case, then walk over to Booyah Base on the left side of the plaza and enter one of the shops. You can also warp into any of the stores by tapping them on the GamePad.
Clothing
There are three shops where you can buy new clothing, known in-game as gear. There is no difference in how the shops work; they just sell different items and have different aesthetics. The 3 gear shops are:
Shrimp Kicks
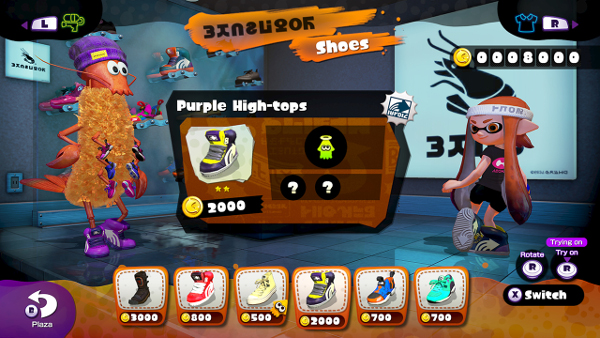
Shrimp Kicks is where you can buy all sorts of slick kicks for your Inkling. This shop is owned by the energetic and charismatic tempura fried shrimp Crusty Sean (you can see he's passionate about shoes because he's wearing 4 pairs!). All manner of shoes can be purchased here from rain boots to sandals.
Jelly Fresh

Jelly Fresh is the place to go for all sorts of cool shirts and jackets. The owner Jelonzo is a little robotic, but he always provides good service. A variety of items can be purchased here from a sushi chef's apron to a dark vest.
Cooler Heads
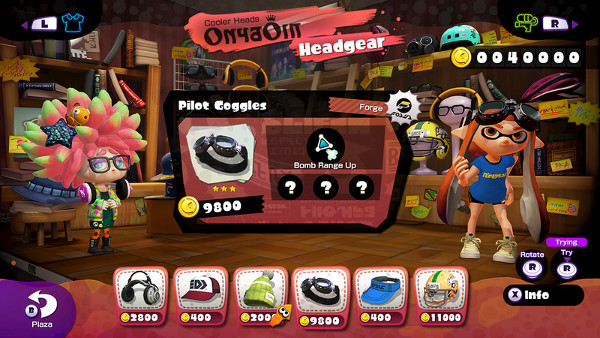
Cooler Heads is the place to head to for all manner of headgear. The owner Annie is very timid, but this is more than made for by her always-yelling fish Moe (in case you couldn't tell, the service here isn't great). Along with traditional caps (including backwards ones) you can also find headphones, safari hats, and even a gas mask!
Note: In all stores you can try on clothes by pushing in the R-Stick and switch between stores with the L and R buttons.
Abilities
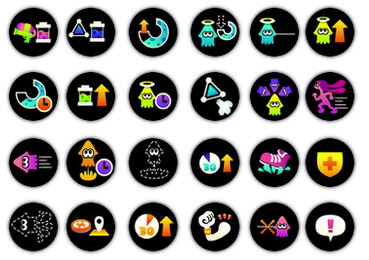
Gear doesn't just make you look fresher, it also comes with cool abilities. Each piece of gear comes with one main ability, and you can unlock up to three more by battling. There are 2 types of abilities: stackable and non-stackable. Stackable abilities are stat boosts such as run speed up and ink refill up. You can have many of the same stat boost, but the effectiveness of the boost per ability is decreased when you have multiple of the same ability. Here's an example: You have one run speed up ability and it boosts your run speed by 4%. Now you have 3, so each one only boosts your speed by 2.5%, for a total of 7.5%. Don't worry if you don't get all the details, just make sure to have a good variety of abilities. Non-stackable abilities give you a unique advantage in battle. These abilities only come as the main ones for gear. Examples include: Ninja Squid (you don't leave a wake when swimming), Recon (lets you see opponents positions when at your spawn point), and Bomb Sniffer (bombs are marked with a skull icon, even invisible ink mines). If you're ever unsure of what an ability does, you can push the X button to get more information.
Weapons
Note: Beating bosses in the Octo Valley mode grants you special blueprints. When you bring these to Shelldon at the Ammo Knights store he'll build you new weapons.
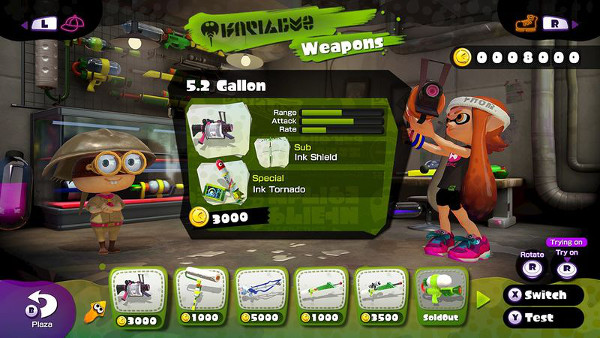
Once you've got your new gear, you should head over to Ammo Knights to get some new weapons. The owner Shelldon is good at building weapons, but he talks way too much. You'll probably want to test the weapons before you buy any, so just press the Y button to head over to the testing range. The squid dummies have the same resistance to weapons as normal Inklings, so you can use them to test the strength of your weapon. You can also press the - button to change your weapon and tap the reset button on the gamepad to remove the ink.
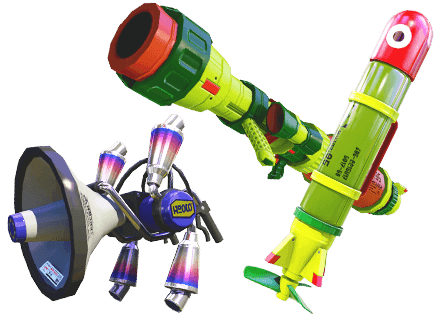
Now to talk a little bit about weapons themselves. Here are the 5 classes of weapons:
Shooters
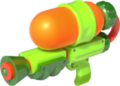
These are the most common weapons in the game. Some are fast and weak, while others are strong and slow. They all have two things in common: they shoot and you can hold down the ZR button to rapid fire them.
Chargers
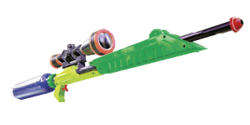
Unlike shooters, chargers cannot be rapid fired. Chargers are very ineffective unless the shot is charged for a while; at which point they can shoot a long deadly stream of ink. Some weapons can shoot farther than others, but also have to be charged longer. Some chargers even come with scopes so you can zoom in on your opponents from far away.
Rollers
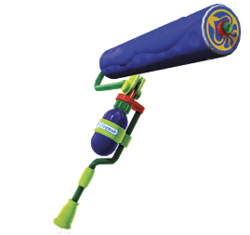
Rollers are great for coating large areas of ground very quickly. They can be slammed down to produce a shower of ink, and then you simply hold down the button and run across the ground. A variation of rollers are brushes. Brushes roll only a narrow stripe, but can quickly paint walls or enemies.
Sloshers
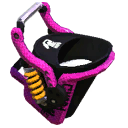
Sloshers are interesting weapons. They are buckets filled with ink for you to fling at your opponents. You cannot hold the button to rapid fire, but each slosh releases large amounts of ink. Currently there are only two weapons in this class: the Slosher and the Tri-Slosher.
Splatlings
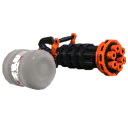
The final weapon class is the Splatlings. These guns need to be charged, but they then release a large amount of ink shots like a normal shooter. Currently there are only the Heavy Splatling and the Mini Splatling.
Note: New weapons have been released regularly since the games' release, including the Slosher and Splatling classes. Who knows, maybe soon there will be more weapon classes.
Sub-Weapons
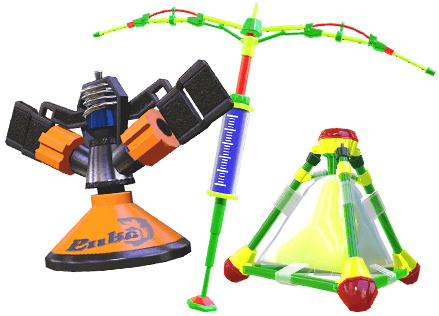
Each weapon also comes with a sub-weapon. Sub-weapons, activated by the R button, use more ink but have a variety of uses in battle. Various kinds of bombs can surprise your foes or just cover ground quickly. Disruptors and point sensors help you track and take out your enemies. Sprinklers and Splash Walls can keep your enemies at bay; while Squid Beakons can help you jump back into the fray. All sub-weapons can be very powerful if used correctly, so be sure to remember them when you're in a tight spot.
Special Weapons
Finally each weapon comes with a special weapon. These limited use weapons can only be used after you fill your special gauge by inking enough turf. Aggressive weapons like Bomb Rush, Kraken, and Inkzooka let you destroy your enemies. More strategic weapons like Inkstrike and Killer Wail let you hit your enemies from afar. Finally, the defensive Bubbler makes enemy attacks bounce off, and if you get close to your teammates they get a bubble too. Your special gauge is drained a little when you die, so be sure to use your special weapons as soon as you get a good opportunity.
That's all for this section. If you would like to someday see an advanced guide on clothing or weapons, be sure to leave a comment or contact me through any of the methods here. Next we'll explore the fun solo campaign, Octo Valley.
 Part 2: Turf Wars
The Author


I'm the guy who programmed this whole website from scratch and I'm responsible for most of the content you see here (including these cool author profiles!). I've been a huge fan of Nintendo since I picked up my first NES controller when I was 3. When I'm not writing articles or filming a new video, I enjoy playing and composing music, reading, math, art, and computer programming.